 Save
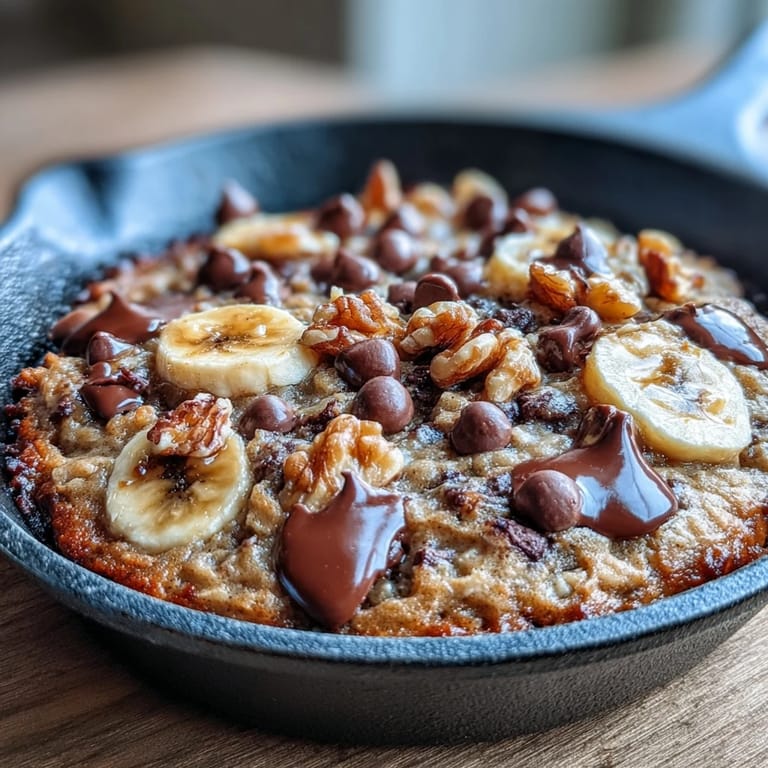
Save My roommate came home one afternoon craving something between a cookie and a cake, something we could tear into straight from the pan without pretense. I'd been thinking about banana bread but wanted chocolate involved, and somehow the image of a Chunky Monkey smoothie stuck in my head—that chaotic, delicious blend of fruit and chocolate that shouldn't work but absolutely does. That cast-iron skillet had been collecting dust, so I decided right then to bake something warm and shareable in it, and this golden, buttery oatmeal cookie hybrid was born.
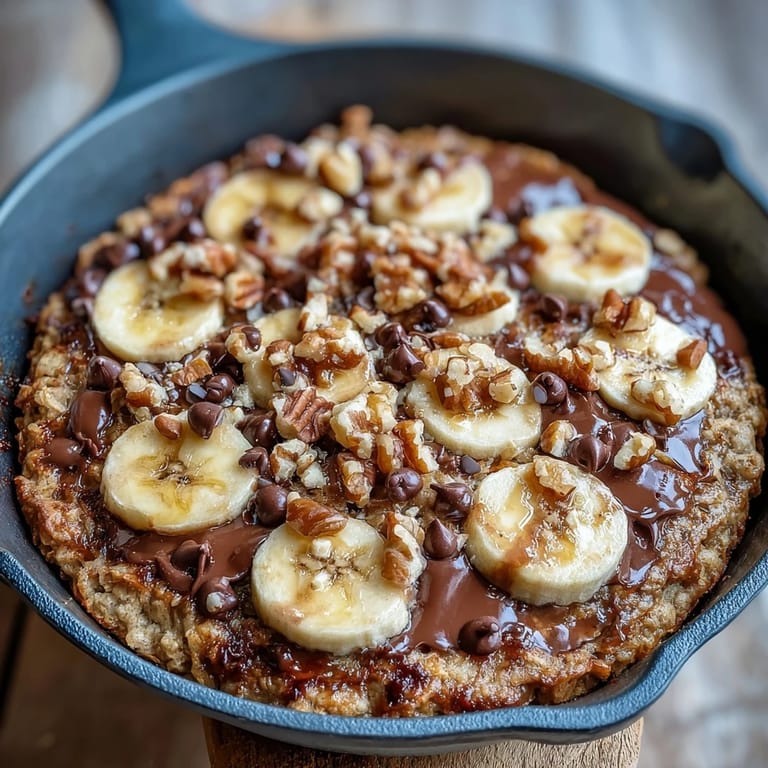
I made this for a small dinner party last spring, and halfway through baking, the smell hit everyone in the living room so strongly that three people wandered into the kitchen asking what I was making. Nobody touched anything else I'd prepared that night—they just wanted this skillet, warm and still crackling slightly in its cast iron, split into eight wedges like a pizza. It became our inside joke, the dessert that had a better turnout rate than the actual meal.
Ingredients
- Old-fashioned rolled oats (1½ cups): These give the cookie its texture—don't use instant oats or you'll lose that slight chew that makes this different from a regular cookie.
- All-purpose flour (1 cup): Keeps structure without being dense; it's the backbone that holds everything together.
- Baking soda and baking powder (½ teaspoon each): They work together here—soda reacts with the banana's acidity while powder ensures lift, so don't skip either one.
- Unsalted butter, melted (½ cup): Melted butter incorporates more smoothly and keeps the crumb tender; salted butter will throw off your salt balance.
- Brown and granulated sugar (⅓ cup each): Brown sugar adds moisture and molasses depth, while granulated sugar creates that slight crispy edge you want on the outside.
- Ripe bananas, mashed (about 1 cup from 2 bananas): Use bananas with some brown spots—they're sweeter and break down easier, adding natural moisture without needing extra liquid.
- Semisweet chocolate chips and chopped dark chocolate (½ cup each): The chips melt slightly during baking while chopped chocolate holds its shape, giving you layers of chocolate texture.
- Chopped walnuts (½ cup): They add earthiness and crunch; toast them lightly first if you want them to taste even more nutty.
Tired of Takeout? 🥡
Get 10 meals you can make faster than delivery arrives. Seriously.
One email. No spam. Unsubscribe anytime.
Instructions
- Set your stage:
- Preheat your oven to 350°F and grease that 10-inch cast-iron skillet thoroughly—you want it buttery and ready. If you don't have cast iron, any 10-inch oven-safe pan works, but cast iron distributes heat beautifully and gives you those golden edges.
- Mix your dry team:
- Whisk together the oats, flour, baking soda, baking powder, and salt in a medium bowl until everything looks evenly distributed. This step prevents lumps and ensures the leavening agents are spread throughout.
- Build your wet base:
- Combine melted butter with both sugars in a large bowl and stir until the mixture looks creamy and the sugar grains start to dissolve. This takes about a minute of honest stirring—you'll feel the texture shift.
- Add the binding elements:
- Beat in the egg and vanilla, then stir in your mashed bananas until no streaks of white remain. The banana should be thoroughly incorporated so it hydrates the batter evenly.
- Bring it together gently:
- Fold the dry ingredients into the wet mixture using a spatula, moving slowly and deliberately—overmixing at this point makes the cookie tough and dense, which is the opposite of what you want. Stop as soon as you don't see dry flour anymore.
- Add the good stuff:
- Gently fold in the chocolate chips, walnuts, and dark chocolate pieces so they're distributed without crushing anything. You want pockets of chocolate and nut throughout, not a uniform paste.
- Spread and bake:
- Pour the batter into your prepared skillet and use a spatula to spread it into an even layer—it doesn't have to be perfect, just reasonably level. Bake for 22 to 25 minutes until the edges are golden and a toothpick poked into the center comes out mostly clean with just a few moist crumbs clinging to it.
- Cool slightly before serving:
- Let the skillet sit on the counter for about 10 minutes so the structure sets just enough to hold together. Serve it warm straight from the pan, ideally with a scoop of vanilla ice cream melting into each piece.
 Save
Save There's something about serving dessert directly from the pan that changes how people eat it—they slow down, they share, they actually taste what's happening instead of just consuming. This skillet became the moment in the meal where everyone stops talking and just enjoys, and that quiet contentment is worth every bit of the minimal effort it takes to make.
Why Cast Iron Matters Here
Cast iron holds heat differently than regular pans, creating those slightly crispy golden edges while keeping the center tender and moist. It also looks beautiful on the table and keeps the dessert warm longer, which means less rushing to serve and more time for people to gather around it. If you don't have cast iron, a ceramic pie dish or regular metal baking pan works fine, but you'll lose a tiny bit of that magical edge.
Making It Your Own
The base of this recipe is solid, but it also invites tinkering—I've swapped walnuts for pecans when someone at the table had a walnut allergy, and I've added a handful of dried cherries because I had them on hand and wanted something tart cutting through the sweetness. One time I sprinkled a pinch of sea salt on top right before baking, and it elevated the whole thing in a way I didn't expect.
Storing and Reheating
This skillet keeps well covered at room temperature for a couple days, though it's best eaten the first day when the texture is at its peak. You can reheat individual slices in a 300°F oven for about 5 minutes if you want them warm again, which honestly makes the house smell incredible all over again.
- Store it loosely covered so moisture doesn't trap and make it soggy.
- A slice straight from the fridge is surprisingly good too, like a dense banana bread moment.
- Freeze leftovers wrapped tightly and reheat from frozen for a quick warm dessert anytime.
 Save
Save This skillet has become my answer to the question of what to bring when someone asks for dessert, and it never fails to make people happy. It's simple enough that you'll make it again, good enough that people will ask for it, and warm enough straight from the oven that it feels like genuine care on a plate.
Kitchen Help
- → What makes this skillet different from regular oatmeal cookies?
The cast-iron skillet creates thicker, chewier centers with crispy edges, while the mashed bananas add natural sweetness and moisture throughout the entire dessert.
- → Can I make this ahead of time?
Yes, prepare the batter up to 24 hours in advance and store it covered in the refrigerator. Let it come to room temperature for 15 minutes before baking.
- → What's the best way to serve this skillet?
Serve warm directly from the cast-iron pan, ideally within 10-15 minutes of baking. A scoop of vanilla ice cream creates the perfect contrast to the warm, gooey center.
- → Can I substitute the nuts?
Absolutely. Pecans work beautifully as a direct substitute, or omit nuts entirely for a nut-free version. You can also add dried cherries for extra texture and flavor.
- → How do I know when it's done baking?
The edges should be golden brown, and a toothpick inserted in the center should come out with just a few moist crumbs. The center will continue setting as it cools.
- → Is this suitable for vegetarians?
Yes, this dessert is vegetarian-friendly. For a vegan version, replace butter with coconut oil and use a flax egg instead of the regular egg.