 Save
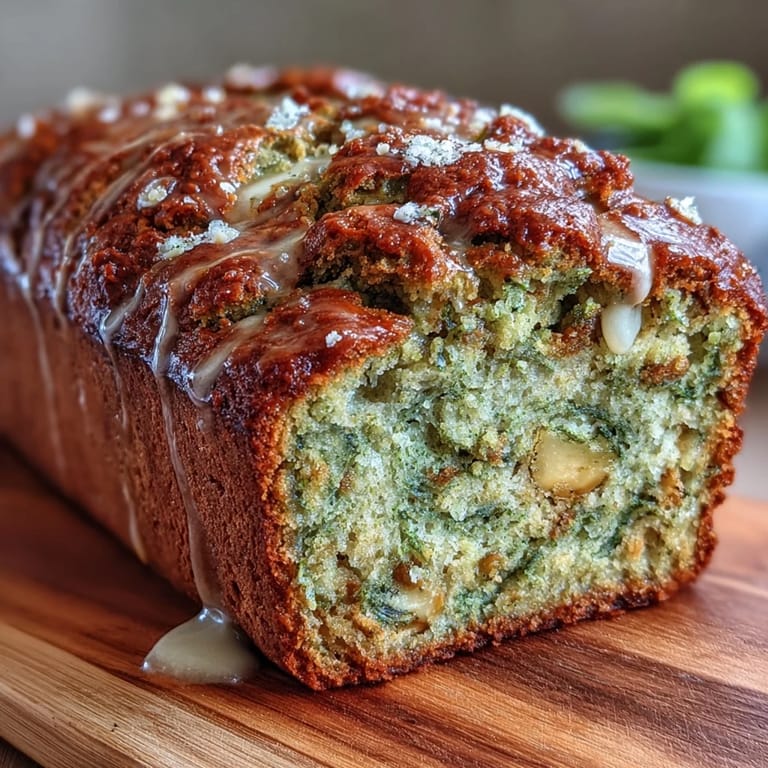
Save Whenever I spot a bunch of bananas slowly freckling on my countertop, I think about how much fun it is to take something so ordinary and turn it into something that stops people mid-slice. The first time I made Matcha Swirl Banana Bread, the swirls practically demanded a photo before I let anyone near it. I loved the contrast of grassy matcha and sweet banana, but what really stayed with me was the slightly earthy aroma lingering long after the loaf had cooled. It’s become my go-to solution for overripe bananas, but always feels like a treat rather than a chore. You’ll love how each slice looks different, almost too pretty to eat—almost.
One rainy Saturday morning, I decided to bake this bread for my sister while we played our favorite coffee shop playlist in the kitchen. She tried to steal the heel of the loaf before it had cooled—but I caught her, mid-sneak, when her giggle gave her away. We ended up slicing it a bit too soon and licking warm crumbs off our fingers. The swirls were hypnotic, and we both swore it tasted even better for the tiny bit of impatience. Since then, Matcha Swirl Banana Bread has become a regular request whenever she visits.
Ingredients
- All-purpose flour: Gives the banana bread its soft but sturdy structure; I’ve found sifting it avoids unwanted lumps.
- Baking soda: Essential for lift and a tender crumb—double-check yours is fresh for best rise.
- Salt: Rounds out flavors; just a touch sharpens the sweetness and matcha notes beautifully.
- Ripe bananas: The spottier, the better—they make the loaf moist and rich, and I like mashing them by hand for tiny banana bits throughout.
- Granulated sugar: Balances the earthiness of matcha without overwhelming banana’s natural flavor.
- Vegetable oil or melted unsalted butter: Creates a tender, moist crumb; I switch them depending on whether I want a richer or lighter loaf.
- Eggs: Provide structure and bind everything together—I crack them into a separate bowl first, just in case.
- Pure vanilla extract: Adds lovely warmth that highlights the banana-mocha flavor fusion.
- Culinary-grade matcha powder: The bright green comes alive here, so use good quality for color and taste—I once substituted culinary matcha for ceremonial and found the latter a bit too delicate.
- Milk (dairy or non-dairy): Helps loosen the matcha mixture for easy swirling; I use oat milk when baking for vegan friends.
Tired of Takeout? 🥡
Get 10 meals you can make faster than delivery arrives. Seriously.
One email. No spam. Unsubscribe anytime.
Instructions
- Get set:
- Preheat your oven to 350°F (175°C) and grease or line a 9x5-inch loaf pan with parchment paper—nothing ruins a swirl like a stuck loaf.
- Combine dry ingredients:
- In a medium bowl, whisk together flour, baking soda, and salt until no streaks remain.
- Make the banana base:
- Mash bananas thoroughly, then mix them in a large bowl with sugar, oil (or melted butter), eggs, and vanilla extract until the mixture is glossy and smooth.
- Bring the batter together:
- Gently fold the dry ingredients into the wet; watch as the flour just disappears and stop—overmixing leads to tough bread.
- Prepare the matcha swirl:
- Scoop out about 1 cup of the batter into a small bowl, then whisk in the matcha powder and milk till thoroughly combined and vibrantly green.
- Layer and swirl:
- Spoon half the plain banana batter into your pan, then dollop half the matcha batter over; repeat with half of each remaining, then swirl with a knife or skewer using a figure-eight motion for that marbled masterpiece.
- Bake and test:
- Bake for 50 to 60 minutes, checking for doneness with a toothpick—it should come out mostly clean or with a crumb or two.
- Cool it down:
- Let the bread rest in the pan for 10 minutes; then, transfer to a wire rack and try to resist slicing until it’s cooled.
 Save
Save 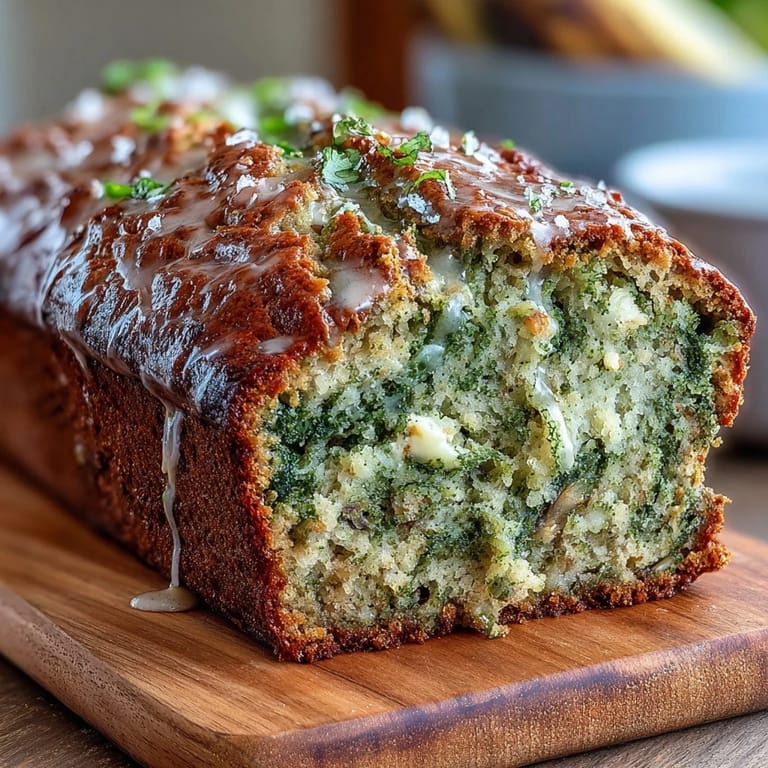 Save
Save Sharing this bread at a small tea party turned a simple afternoon into one of those effortless moments where conversation feels as warm as the kitchen. Watching my friends marvel at the green swirls while they reached for second helpings made the work feel completely worthwhile.
Let’s Talk About Ripe Bananas
Not all bananas are created equal when it comes to banana bread. The best ones are heavily spotted, almost blackening—their sweetness and moisture make all the difference. I’ve learned not to rush and even purposely stash bananas away for a couple of days to reach their peak. If I’m feeling impatient, a quick stint in a low oven brings them closer to bread-worthy ripeness.
The Magic of the Matcha Swirl
Don’t be intimidated by the swirling—there’s truly no wrong way, and each loaf’s patterns will be as unique as a thumbprint. I started with careful lines and ended up embracing my inner abstract artist. If you want dramatic swirls, drag your knife a bit deeper but avoid over-blending. The magic is in the contrast, not perfection.
Serving and Storing Secrets
I’ve found this bread is best shared within the first three days, though I always stash a few slices in the freezer for solo tea breaks. Serving it slightly warm with a good mug of green tea feels especially restorative.
- A quick reheat in the toaster brings it right back to life.
- Wrap slices individually for grab-and-go snacks.
- Don’t forget to let the bread cool fully before cutting—your swirls will thank you.
 Save
Save 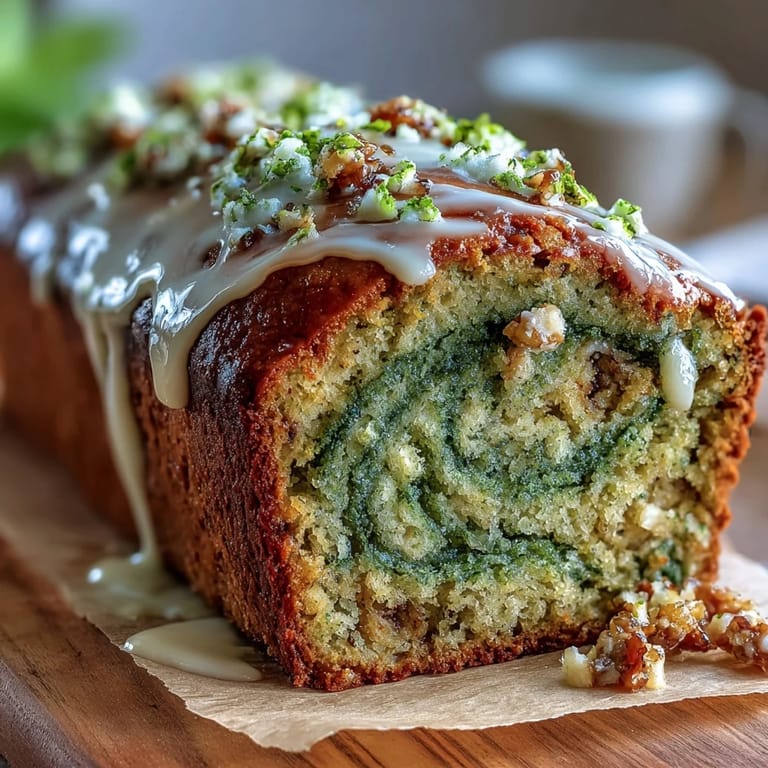 Save
Save This Matcha Swirl Banana Bread brings a little art and a lot of pleasure to even the simplest of mornings. I hope you enjoy both the process and those beautiful green swirls as much as I always do.
Kitchen Help
- → Can I use frozen bananas?
Yes. Thaw and drain excess liquid, then mash while still slightly warm for easier mixing and better sweetness and moisture.
- → How do I avoid clumps of matcha?
Sift matcha into a small bowl and whisk with the milk until smooth before folding into the reserved batter; this prevents lumps and ensures an even green color.
- → Which matcha is best?
Use culinary-grade matcha for baking: it has a robust flavor and holds color well when mixed into batter without overpowering the banana.
- → Can I swap the oil for butter?
Yes. Use melted unsalted butter in equal measure for a richer flavor and slightly denser crumb; keep the mixing gentle to avoid toughness.
- → How do I check for doneness?
Insert a skewer or toothpick into the center; it should come out clean or with a few moist crumbs but no wet batter. If the top browns too fast, tent with foil.
- → Best storage and make-ahead tips?
Wrap cooled slices tightly and store at room temperature up to 3 days or freeze slices for up to 2 months. Thaw before serving and refresh in a low oven if desired.