 Save
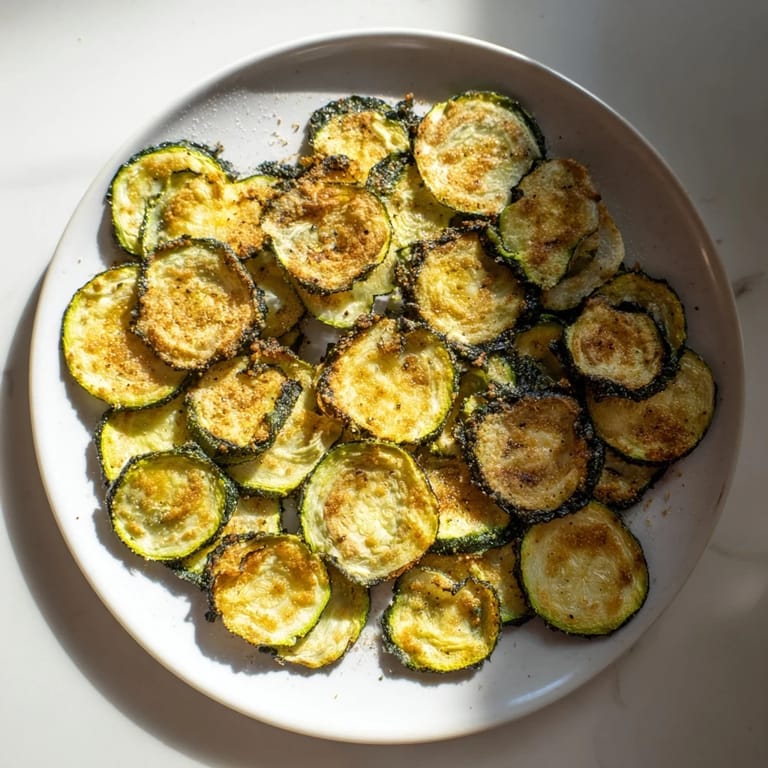
Save I discovered crispy zucchini chips by accident on a sweltering August afternoon when my garden was drowning in an absurd zucchini harvest. Standing in front of my produce bowl, I was tired of bread and fritters, so I sliced a few thin rounds on a whim and threw them in a low oven. Two hours later, I pulled out something that tasted nothing like the watery vegetable I expected—they were salty, golden, and genuinely addictive, more satisfying than any chip bag I'd ever opened.
I made these for a friend who was trying to cut back on processed snacks, and watching her reach for a third handful felt better than any recipe compliment I'd ever received. She asked for the recipe that same evening, which was when I realized I'd stumbled onto something people actually wanted to eat.
Ingredients
- 2 medium zucchinis: Choose firm ones without soft spots; overripe zucchini will turn to mush instead of crisping up.
- 1 tablespoon olive oil: Just enough to help them brown evenly without making them greasy.
- 1/2 teaspoon sea salt: The foundation of flavor; don't skip this or they'll taste bland.
- 1/4 teaspoon freshly ground black pepper: Fresh pepper makes all the difference compared to the pre-ground stuff.
- 1/2 teaspoon garlic powder (optional): Adds a savory depth that makes you reach for more.
- 1/2 teaspoon smoked paprika (optional): Brings a warm, slightly smoky note that lingers on your tongue.
Tired of Takeout? 🥡
Get 10 meals you can make faster than delivery arrives. Seriously.
One email. No spam. Unsubscribe anytime.
Instructions
- Set Your Oven Low and Slow:
- Preheat to 225°F and line two baking sheets with parchment paper. Low heat is the secret here—rushing with higher temperature will burn them before the inside dries out.
- Slice with Purpose:
- Wash and thoroughly dry the zucchinis, then slice them into thin rounds about 1/8 inch thick using a mandoline or sharp knife. Uneven slices will bake at different rates, so take a moment to make them consistent.
- Dry Them Again:
- Pat the slices dry with paper towels to remove excess moisture. This step genuinely matters—wet chips won't crisp properly no matter how long you bake them.
- Season with Intention:
- Toss the zucchini with olive oil, salt, pepper, and your chosen seasonings in a bowl until everything is lightly coated. Don't drown them; you want a whisper of oil, not a slick.
- Arrange Without Crowding:
- Spread the slices in a single layer on your baking sheets so they don't touch. Overlapping slices will steam instead of crisp.
- Bake, Rotate, Flip:
- After 1 hour, rotate your baking sheets and flip each chip. Continue baking another 30 to 40 minutes until they're golden and crispy at the edges.
- Cool Completely:
- This is where patience pays off. Let them sit on the baking sheets as they cool—they'll continue to crisp and firm up as the residual heat does its work.
 Save
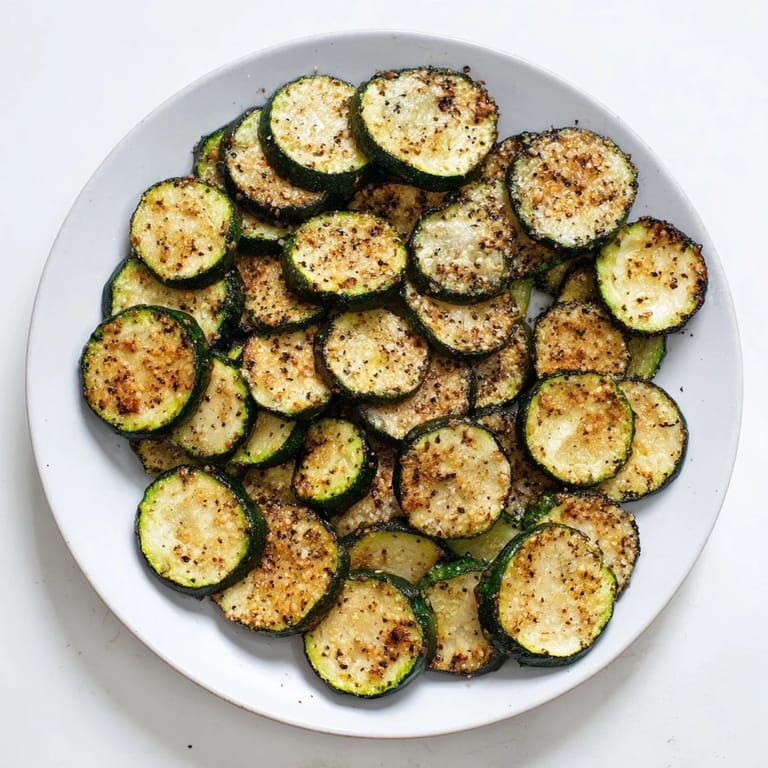
Save I remember my partner walking into the kitchen halfway through baking and asking if something was burning. When I opened the oven to show him the nearly finished chips, the warm, toasted aroma filled the whole room—suddenly they weren't just a snack experiment anymore. They were proof that the simplest ingredients, treated with respect and patience, could become something genuinely special.
Flavor Variations That Work
Once you nail the basic recipe, the door opens to experimentation. I've tried everything from Italian herbs and lemon zest to a pinch of cayenne, and each variation has taught me something about how seasoning changes the personality of a chip. My favorite discovery was a light dusting of nutritional yeast, which adds an almost umami quality that makes them even more addictive.
Storage and Freshness
These chips are best enjoyed the day you make them, while they still snap between your teeth instead of getting soft and chewy. If you do have leftovers, an airtight container will keep them decent for a day or two, though they gradually lose their crispness as they absorb moisture from the air. I've learned to make smaller batches and eat them fresh rather than watching a whole batch slowly go soft in the cupboard.
Taking It Further
Once you understand how this recipe works, you can apply the same logic to other vegetables. Thin-sliced sweet potatoes, parsnips, or even thin beet slices transform into crispy chips with this gentle, patient baking method. The key is always the same: slice thin, dry well, season lightly, and let low heat do the work for you.
- Experiment with grated Parmesan cheese sprinkled on before baking for a savory, cheesy edge.
- Try other seasonings like chili powder, ranch powder, or everything bagel seasoning to suit your mood.
- These make an impressive snack to bring to gatherings because they feel homemade without being fussy.
 Save
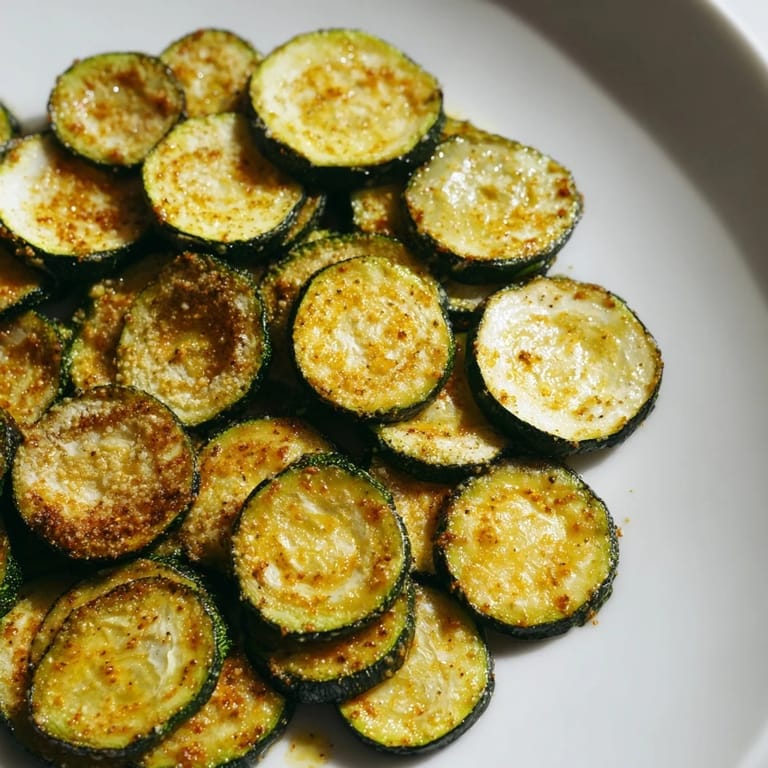
Save What started as a garden-abundance problem became one of my favorite snacks to make and share. These chips remind me that sometimes the best discoveries come from constraints and a willingness to experiment.
Kitchen Help
- → How thin should zucchini slices be for optimal crispiness?
Slices about 1/8 inch (3 mm) thick work best to ensure even baking and a crunchy texture without burning.
- → Can I use other seasonings to vary the flavor?
Yes, options like chili powder, Italian herbs, or nutritional yeast add unique tastes without overpowering the natural zucchini flavor.
- → What is the best baking temperature for these chips?
Baking at 225°F (110°C) allows the zucchini to dehydrate slowly and become crispy without browning too quickly.
- → How do I store zucchini chips to keep them crispy?
Store in an airtight container for up to two days. Let the chips cool completely before sealing to maintain crunch.
- → Are these chips suitable for special diets?
They fit vegetarian, gluten-free, and low-carb preferences, using simple vegetable and seasoning ingredients.